Hello! This is Tsuchiya from the UTSUWABI Editorial Department, a pottery market that you can enjoy at home.
I broke my favorite cutlery rest the other day.
Usually, I feel like I regret doing it and want to go back in time
several tens of seconds with the unpleasant sound of a clanking sound.
But this time it was a little different, and I felt more excited than regretful.
The reason is "Kintsugi".
To be honest, I was a little excited to finally have the material for kintsugi, which I had
always wanted to try.
Today I would like to talk about Kintsugi, which is one of my favorite ways to use pottery for a long time, and my impressions after actually trying it.
What is Kintsugi?

"Kintsugi" is a repair technique that involves gluing broken, chipped, or cracked pottery with lacquer and decorating it with gold or other powder.
It is a technique that has been used since ancient times in Japan, and it is said that its artistic value was
discovered after the Muromachi period, when the tea ceremony became popular.
In recent years, interest in traditional
crafts and handcrafts has increased, and they are attracting attention not only from Japan but also from overseas.
Another great thing is that you can use your favorite pottery for a long time.
Originally, lacquer is also used to attach broken pieces or repair chips during Kintsugi.
However, it can take several
weeks to glue the pieces together using lacquer.
Recently, kits and workshops that allow you to perform Kintsugi relatively easily using lacquer-processed adhesives
and adhesive putty have become popular.
Even though I am new to kintsugi, I first tried my hand at kintsugi using a
kit.
First Kintsugi Preparation Edition
I was nervous about doing kintsugi alone for the first time, so I created a lifestyle brand that focuses on
accessories using ceramics.
ayako.ceramics
to teach me. (Conducted via zoom, where you can interact online.)
He told me, ``Don't try to fix it perfectly, just enjoy it with an open mind,'' which made me feel at ease participating even though it was my first time.
This time, I am trying Kintsugi using a special kit from ayako.ceramics.
Nowadays, there are various methods for
kintsugi, and the tools and detailed procedures vary depending on the kit used and the person teaching the technique,
so please read the steps described here for reference only.
Click here for the materials and tools used.

・A large piece of paper that covers a desk
・Epoxy adhesive
・Tonoko
・Cardboard to mix adhesive
・Bamboo skewers
・Masking tape
・Design knife
・Waterproof paper
・Rubber gloves
・Menso brush (long brush)
・Plastic card
・Lacquer
・Turpentine oil
・Metal powder (pure gold powder and brass powder)
・Floss cotton
・Ashirai stick (shorter brush)

There are other things you should prepare as well.
・Tissue
・Salad oil
・Water
Glue, lacquer, turpentine, etc. have strong odors, so it's best to ventilate well.
Also, lacquer can cause itching if it comes in contact with the skin, so it's a good idea to wear long sleeves to protect your skin.
If it gets on your skin, apply salad oil and wash it with soap to prevent itching.
(If the itching
is severe or does not subside after 5 days, please consult a dermatologist.)
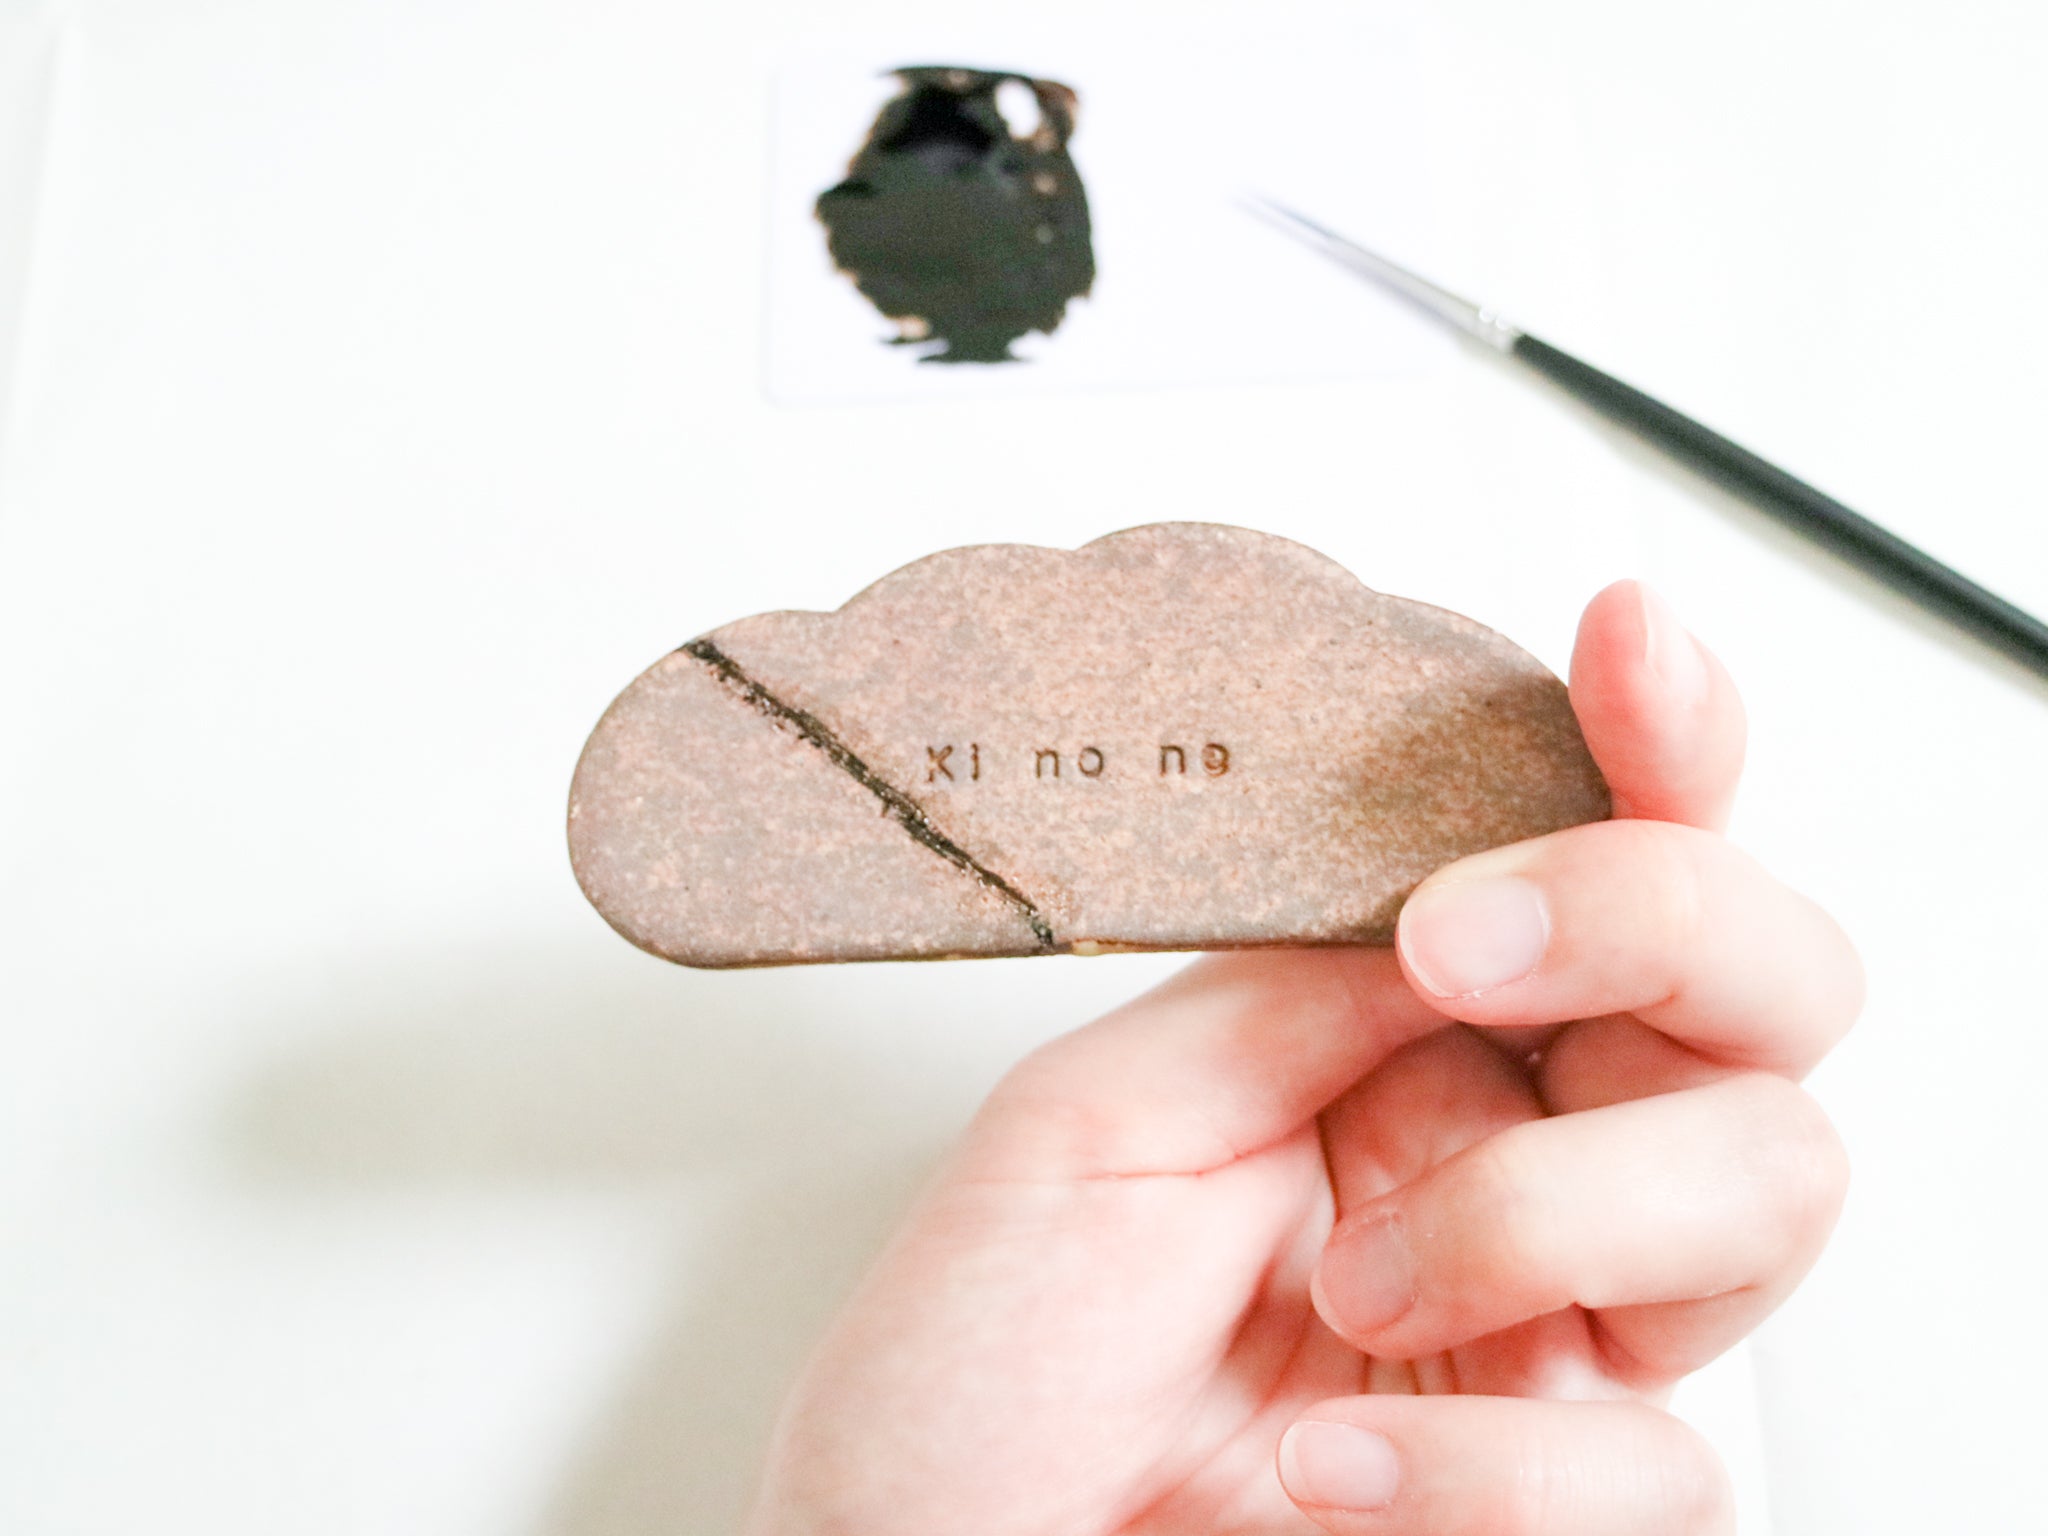
First Kintsugi: Repairing cracks
Crack repair

This time I broke the cutlery rest. It split into two pieces, but since it wasn't broken into small pieces, it was relatively easy to repair.
There are five main steps in Kintsugi to repair cracks before applying lacquer.
1.Imagine the order in which they will be assembled and put together
2.Cut the masking tape (you should have about 10 pieces)
3.Pour epoxy glue onto the cardboard and mix with a bamboo skewer
4.Apply a thin layer of glue to all cracked surfaces.
At this time, it is best to use masking tape to help assemble.
5.Assemble everything as soon as it is painted. (Press hard so that the adhesive sticks out)

It is safer to make more adhesive.
This is because once the adhesive is made, it hardens rapidly, making it difficult
to add more parts in the middle.

Since the adhesive will be scraped off later, it is better to apply enough so that it will protrude when the parts are
glued together tightly.
However, it is easier to work on areas that may be difficult to scrape off, such as the inside
of a cup, if you aim to avoid protruding.
Adjust the area to apply lacquer

About 20 minutes after pasting, when the adhesive has hardened (before it completely hardens), scrape off any excess adhesive that sticks out.
Finely adjust the unevenness after cutting with a cutter using waterproof paper that has been exposed to water.
After completing all the steps, I realized that how well you remove the adhesive will have a bearing on how beautiful
it will be afterwards.
Metal powder will also stick to the protruding adhesive, so we strongly recommend that you
carefully remove it.

Also, since I let the force of the glue come off, I also removed the glue that was needed on the cross section of the piece.
Later, we will apply lacquer, but it is safe to assume that the lacquer itself does not have the strength to adhere
the pottery.
Therefore, it is highly recommended that you glue it firmly at this point.
Painting and decorating with lacquer

There are six major steps to decoration.
1.Unload the lacquer onto the pallet with gloves
2.Add a little turpentine
3.
Mix it with a face brush (long brush) and trace it thinly
4.Sprinkle metal powder with a short
brush
5.Sprinkle metal powder with cotton wool. Wipe it off
6.Leave it in
a place with about 70% humidity for 24 hours

When applying lacquer, you only need to add a small amount of lacquer to the brush.
Sprinkling metal powder onto the
lacquer lines drawn with a brush felt like sand painting.
It seems that lacquer hardens due to humidity.
I was told that it is a good idea to leave it in the bath after taking
a bath.

After 24 hours of sprinkling the metal powder, it will be completed.
I wash it with dish detergent before using it.
What I thought after trying Kintsugi

When I wanted to try Kintsugi, I thought it would be difficult because I thought it required very advanced techniques.
When I actually tried it, it turned out to be easier than I expected.
I'm happy to be able to use the pottery that I broke again, and now that my favorite pottery has added some originality to it, I'm even more attached to it.
I thought that if you know the kintsugi method, you can have a long-term relationship with utsuwa.

In addition, this time I repaired a broken pottery, but it seems that chips and cracks can be repaired with the same level of difficulty.
When you break a pottery, it's fun to look for and buy a new one, but I also want to take good care of my favorite pottery while restoring it.
*Usage of kintsugi plates cannot be used in the microwave. Also, using the dishwasher is not recommended.
Conclusion
After trying Kintsugi, I felt even more inspired to use my favorite pottery with care.
"Enjoy Pottery Market at Home UTSUWABI" sells items related to dining, mainly Japanese tableware.
Please take a look at the link below.
Here is the link to the UTSUWABI website
Thank you for reading until the end.
I hope you can find your favorite pottery that you will want to use for a long
time!